Talking Tech: Building an environment for data analysis
Welcome to the first edition of Talking Tech! This series is going to be a deeper dive into the weeds of predictive analysis. It will be geared more towards coders and less towards data scientists. In other words, expect to see more code in this series rather than mathematical jargon. The main focus will be on how to build and train predictive models using neural networks. If you are interested in getting down to the nitty-gritty of the math that makes everything possible, there are already excellent resources for that, some of which we will refer to as this series goes on. Plus, I'm hoping we can get some contributors on here with more of that traditional math/data science background. Sound good?
This article is going to be focused on getting an environment set up to do some analysis. We're going to be working mainly with tabular data throughout this series, so no need for a fancy machine or GPU. In fact, my primary machine is a first generation Microsoft Surface Laptop running Windows 10 with an Intel i5 processor, 8 GBs of RAM, no GPU. It works just fine for general development work and data analysis. One other note, you should have no issue following along in the series regardless of if you are running Windows, MacOS, or a flavor of Linux. If you are running Windows, however, then you'll need to at least be on Windows 10. I also highly recommend setting up Windows Subsystem for Linux (WSL) with your favorite Linux flavor (I use Ubuntu).
We're going to be working with the following tools throughout the series:
- Docker
- Jupyter
- Python
- The CFBD API
We'll be going through overviews for Docker and Jupyter shortly. If you don't know Python, that's okay. I really don't, either! This series will be a learning process for all of us. And this is actually a fantastic setup for learning and messing around with Python and its various libraries. Anyway, let's jump in!
Getting Started with Docker
Ever had to install a somewhat complicated piece of software on your computer only to run into issues getting things up and running? Worse yet, ever had to walk someone else through the steps of setting up an application on their own computer only for them to run into issues?

I think we've all been there at one point or another. Now, image a scenario where you can get a tool or series of tools up and running on your own machine and everything's running perfectly. Wouldn't it be awesome if you could just package up that environment and ship it off to any other computer and be guaranteed that it would run perfectly the same no matter where you put it? Even across different operating systems like Windows and MacOS? Well, that is the crux of what Docker does.
I'm greatly oversimplifying things, of course. I won't get too down into the weeds, but what Docker provides is a virtualization platform for creating and running containerized applications. What exactly is a container? It's basically just a unit of software. It could be a single application or tool you have up and running or a whole suite of applications. It's almost analogous to a virtual machine in some ways, but Docker containers are much more efficient for the purposes of passing around configured applications.
Imagine wanting to configure a complex application like a database server (e.g. SQL Server, MySQL, PostgreSQL) or a new CMS like WordPress, Ghost, or Drupal. What if I told you that you could query a repository of these various applications in a largely configured state and be up and running in a matter of seconds without needing to install anything? That's the huge benefit of Docker. Well, one huge benefit. We're really only hitting the tip of the iceberg here.
First things first, we need to get Docker installed. There's already great guides out there, so I won't go through all the steps. It's quite simple at any rate. You can find instructions here. For Windows and Mac users, it's as simple as installing Docker Desktop. Linux is not much different than installing any other package.
Once your installation is complete, you should be able to open up your favorite terminal of choice, such as bash, PowerShell, or even Windows Command Prompt and type in the following command:
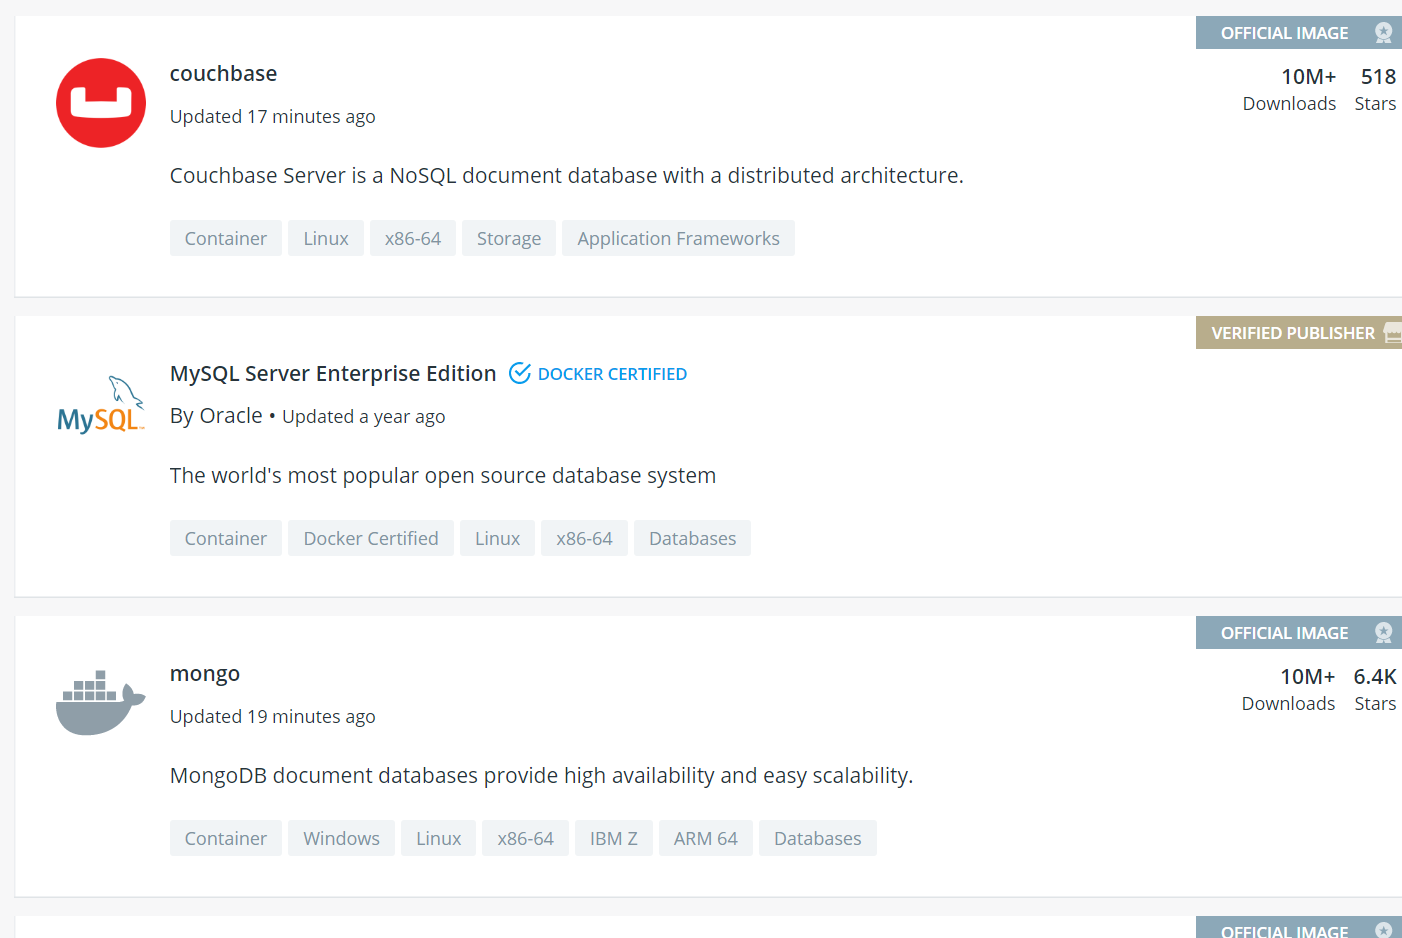
docker infoThat will just bring up some basic info on your Docker Runtime instance. From here, the best thing to do is to check out Docker Hub. If you're familiar with code repositories like GitHub or Bitbucket, it's analagous to those but for Docker images. An image is basically a snapshot of a container. You just need to pull down an image and then run it and then you're good to go. If you haven't yet, I fully recommend checking out the list of most popular images on Docker Hub. Many of these are official images. It illustrates all the different things you can do.
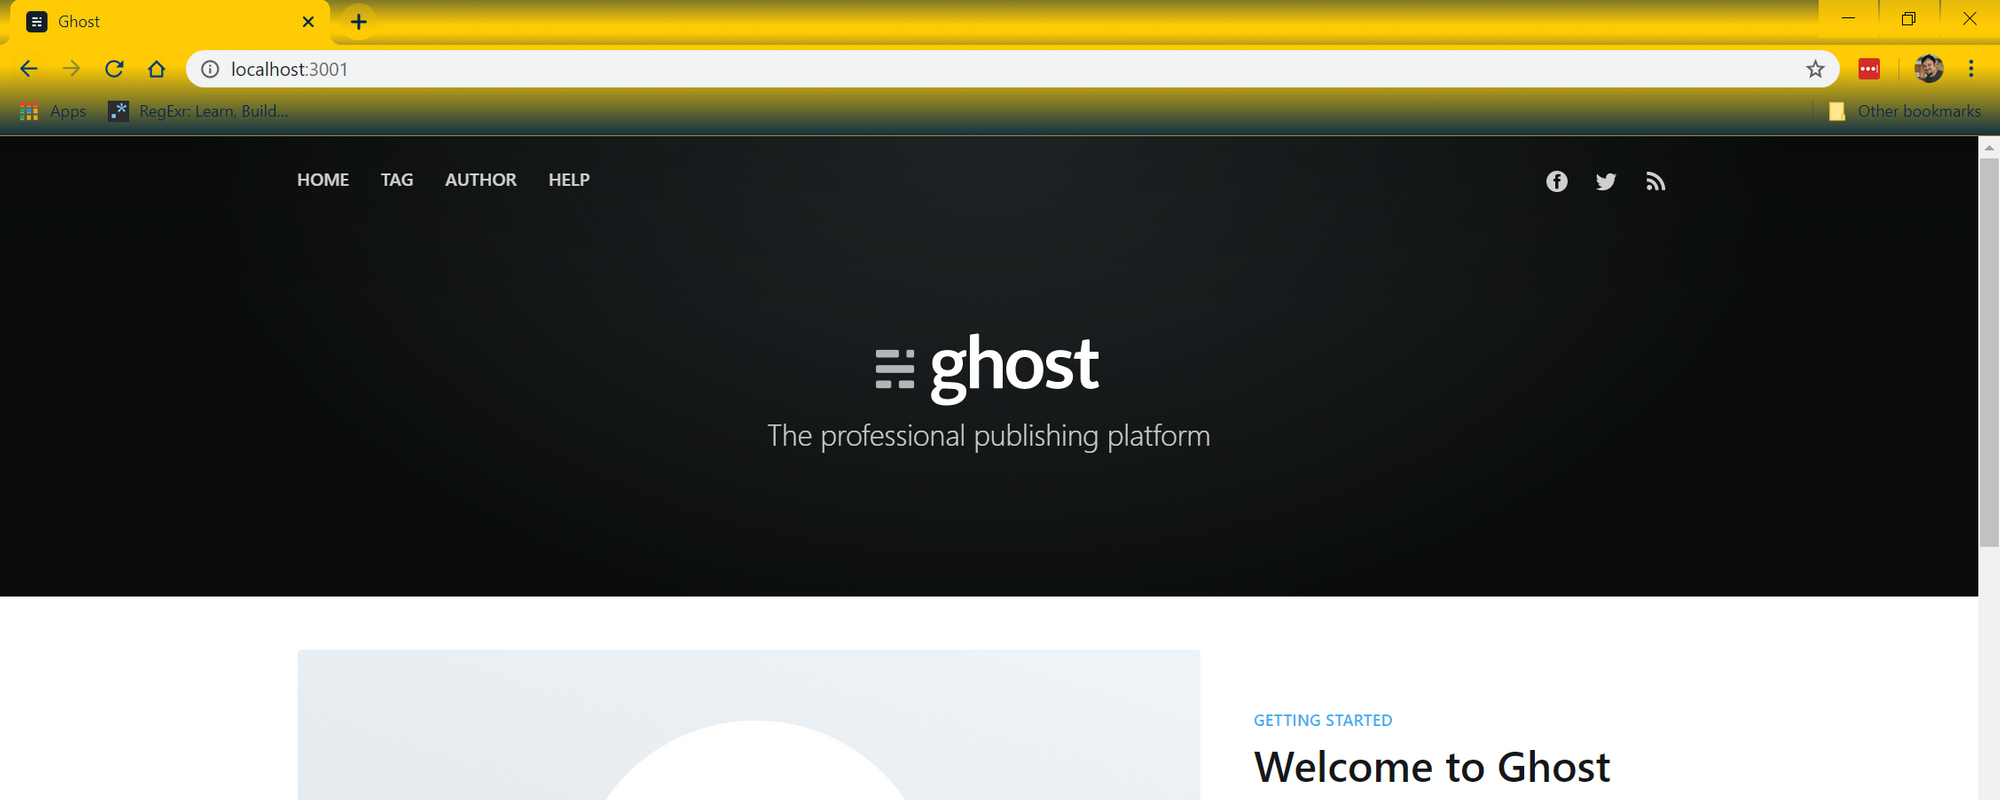
Another great thing about this setup is that you can experiment will all sorts of different tools and technologies with very little investment in getting things set up and configured. Let's say I wanted to setup a blog, but didn't know what platform I wanted to use. I've heard a lot of stuff about WordPress and Drupal, but I really want to try out this newer platform called Ghost. Conveniently, Ghost provides an official image on Docker Hub. In fact, the image page on Docker Hub also shows how to use the image. It looks like I just need to enter one line into my terminal to get up and running.
docker run -d --name some-ghost -e NODE_ENV=development -e url=http://localhost:3001 -p 3001:2368 ghostThis command will pull the main Ghost image from Docker Hub and start it up. Within a matter of seconds, we have a Ghost instance up and running. We can check it out by visiting http://localhost:3001.
Pretty easy, huh? Let's break down that command we just ran. We won't go into all the details of the Docker CLI, though I highly recommend diving into that some time. For this particular command, we had these components.
- docker run - this is the base command which tells the Docker image we want to run an image
- -d - this simply detaches the image process from our terminal, otherwise our terminal would be locked up by the new container
- --name some-ghost - this just gives a convenient name to our new container which will make it easy to distinguish from other containers we may have running
- -e url=http://localhost:3001 - we're passing in an environment variable to our container here, specifically to tell our Ghost instance what its base URL should be
- -p 3001:2368 - Ghost runs on port 2368 inside of our container, but this is not accessible from outside the container so we map it to port 3001 on our local machine so that we can access the site (i.e. Docker containers have their own port mappings)
- ghost - the name of the image from Docker Hub
So, that's a lot to break down, but the important thing is just how ridiculously easy it is to get things up and running. Maybe I decided I didn't like Ghost after all. I can just as easily explore other blogging platforms in the same manner before settling on the one I like best.
Hopefully you know see what a great tool Docker can be for all sorts of things. We've still barely even touched the surface as this was intended to get our feet wet just enough to get going. I highly recommend taking a deeper dive whenever you have the time. The best way to familiarize yourself more is just by experimenting around.
Setting up Jupyter
If you're familiar with Python, then perhaps you've come across Jupyter notebooks before and are already familiar with them. If not, you are in for a real treat! Imagine having the ability to write documentation and guides that not only contain text, visualizations, and code snippets, but actual live code itself. You could not only run the code right in your browser and see its output, but you could also edit the code snippets and re-run the output. This is what Jupyter does and it is an amazing tool, especially when working with data and analytics.
Which programming languages does Jupyter support? Well, it was built specifically for Python, so that's the main language with which it is intended to be used. However, you can also use R out of the box. Support for .NET was also recently announced, so you can also use C# and F#, but some additional setup may be required. Anyway, you ready to dive in?
We're going to make this super easy to get up and running, provided you're setup with Docker. It just so happens that Jupyter provides several different images with which to work. We are going to be basing our work off of their jupyter/datascience-notebook image, which comes pre-configured with several different libraries necessary for data science in Python, such as pandas and numpy. However, there are a few other libraries that I like to use and I'd rather not have to remember to install them every time I start a new container or update an existing one. One beautiful thing about Docker is that you can use any other image as a base image and build off of it. I've created such an image using a Dockerfile. It's pretty simplistic.
FROM jupyter/datascience-notebook

RUN pip install psycopg2-binary
RUN pip install fastai
Just three lines of code. The top line tells Docker that I want to use jupyter/datascience-notebook as my base. The bottom two lines specify two packages I'd like to install that are not a part of the base image. The first package allows me to interact with a PostgreSQL database. The second specifies the FastAI library, which will be more relevant to this series. I've actually already created this image and published it to GitHub Package Manager (which is another repository of Docker images similar to Docker Hub), so all you need to do to get started is to run the following command in your terminal of choice. Before running, be sure to replace "PUT_LOCATION_HERE" with a path on your local filesystem.
Important note: A GitHub account is required for this next block of code as you will be prompted for your GitHub username and password. This image was previously hosted on Docker Hub which removed its free tier, so it was migrated to GitHub to keep it free and available for everyone. Unfortunately, GitHub very stupidly requires you to be logged in even though this is a public image.
docker login docker.pkg.github.com

docker pull docker.pkg.github.com/bluescar/docker-jupyter/docker-jupyter:master

docker run -p 8888:8888 -e JUPYTER_ENABLE_LAB=yes -v PUT_LOCATION_HERE:/home/joyvan/work docker.pkg.github.com/bluescar/docker-jupyter/docker-jupyter
Let's break down what is going on here. This command is pretty similar to the one we broke down above, but there are a few different parts from before.
-
docker pull ... - this pulls the container image down from a third party hub (GitHub in this instance) and onto our local machine so that we can then run it
-
docker run - again, this is the main command used to run our container
-
-p 8888:8888 - the jupyter web platform runs on port 8888 inside of our container, so we are going to map and expose it to the same port on our local machine
-
-e JUPYTER_ENABLE_LAB=yes - this environment variables tells jupyter that we want to use the Jupyter Lab interface
-
PUT_LOCATION_HERE:/home/joyvan/work - Containers are not meant to be persistent. When the container gets destroyed (or updated), so does our data. Right here we are telling Docker to mount a folder inside of the container to a location on our local machine so that we can save our work. Replace PUT_LOCATION_HERE with a location on you computer, like C:/jupyter or something like that.
-
docker.pkg.github.com/bluescar/docker-jupyter/docker-jupyter - again, this specifies the image we want to use
This is a fairly large image, so it may take a few minutes to download and extract. Eventually, you should have gotten output similar to the following.
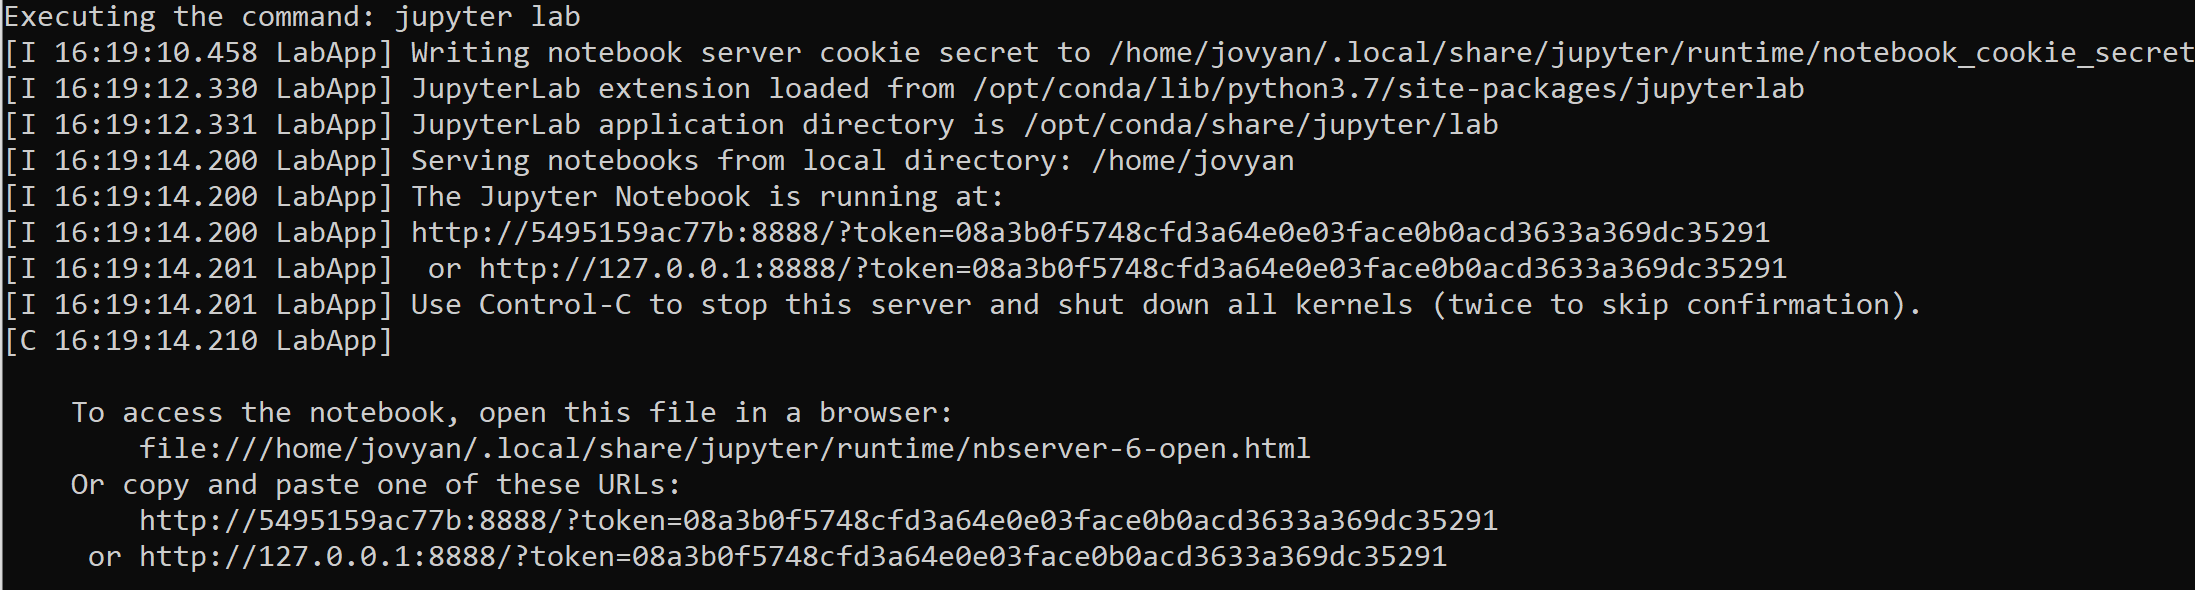
Notice that the output gives you a token and tells you which URL you should visit to access the Jupyter Lab interface. I recommend picking the URL that starts with localhost or 127.0.0.1. Be sure to copy the whole URL (including the token) and paste it into a browser window.
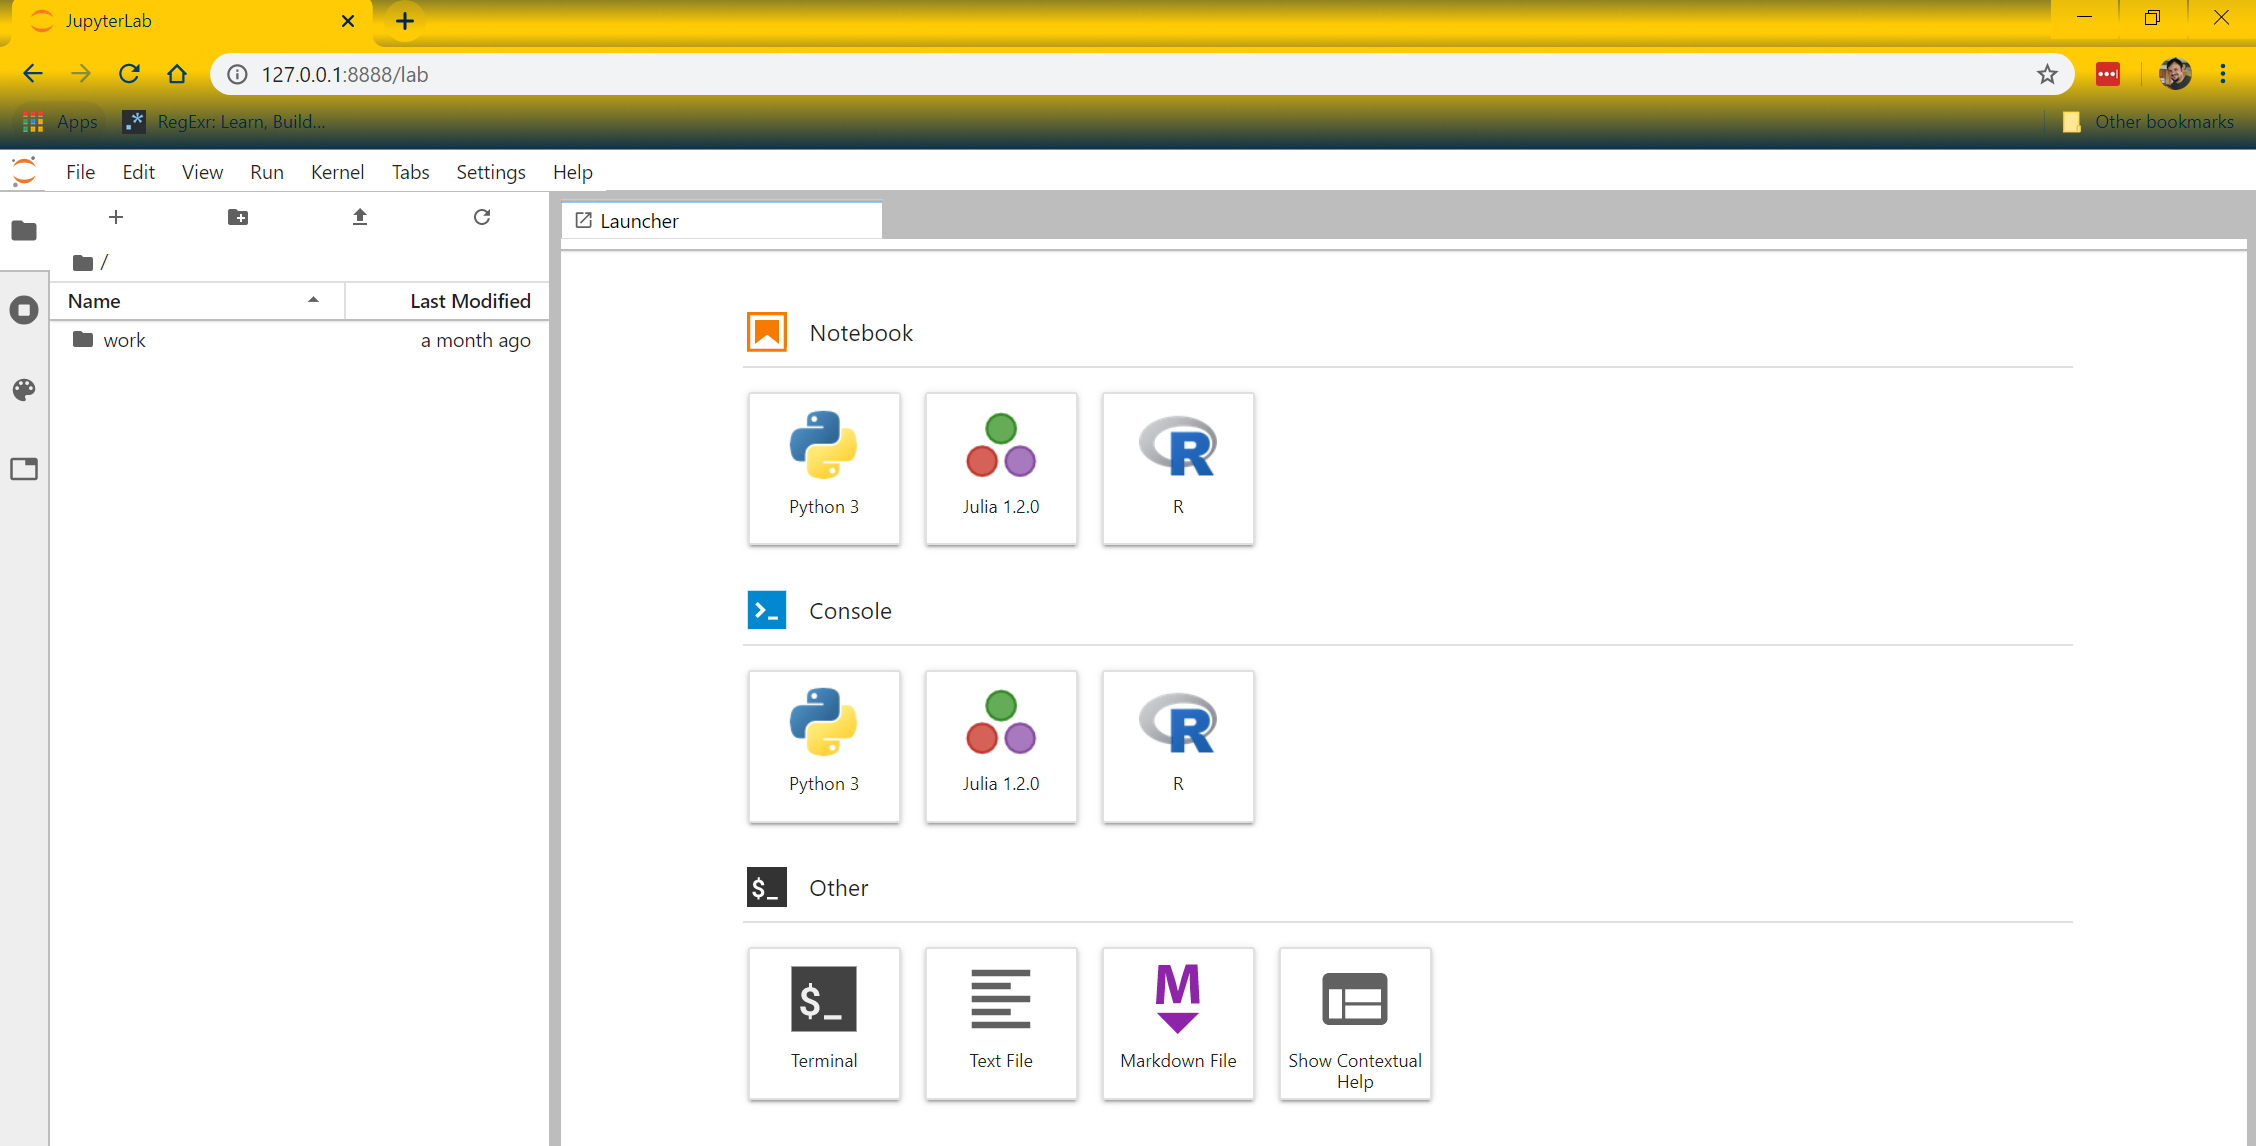
Let's go ahead and create a new Python notebook by selecting 'Python 3' under the 'Notebook' section. A blank Python notebook should have been created. Let's go ahead and fetch some data from the CFBD API using the CFBD Python library. If you haven't already, be sure to register for an API key. You'll need it for this code to work. Copy the following code snippet into the notebook and run it.
import cfbd

configuration = cfbd.Configuration()
configuration.api_key['Authorization'] = 'your_api_key'
configuration.api_key_prefix['Authorization'] = 'Bearer'

api_config = cfbd.ApiClient(configuration)

teams_api = cfbd.TeamsApi(api_config)
teams_api.get_fbs_teams()
You should see output similar to below:
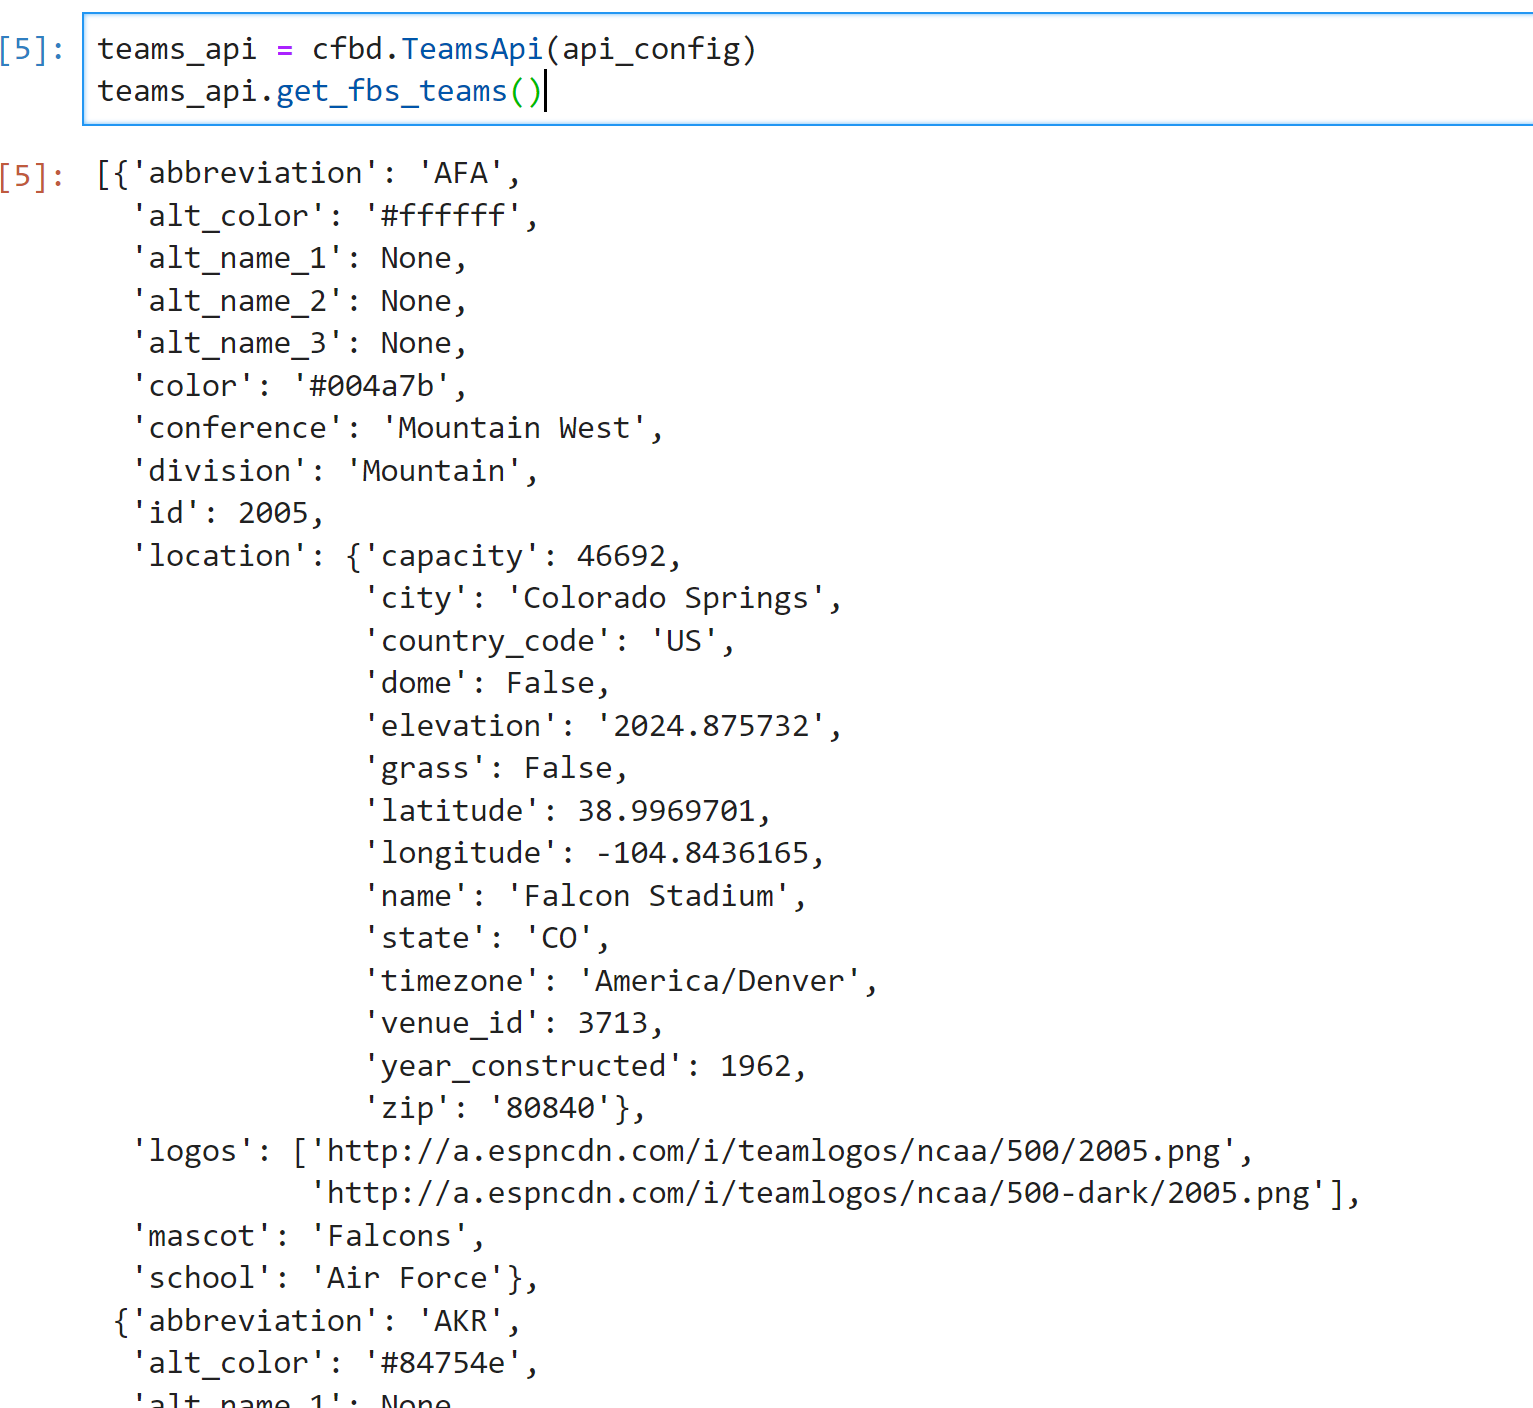
Here's what the code above is doing.
- Importing the CFBD Python library
- Configuring the API using your API key
- Creating a Team API instance and using it to pull the list of all FBS teams
Anyway, that's pretty much it. Notice that you can add both text and code boxes into your new notebook. In fact, it created a new code block after we ran the above snippet, conveniently breaking our code up into logical sections. You can continue playing around with the notebook. The libraries and variables we defined will be accessible in any new code blocks we create.
Conclusion
So, that was a lot to get through. Like I said, we've only really scratched the surface of both Docker and Jupyter. The good news is, we are now fully setup to start experimenting and doing some actual analysis. We'll dive into that some more with the next entry. In the meantime, I highly recommend checking out documentation for both the CFBD Python library and pandas and just messing around. Kaggle also has some great micro-courses on Python and pandas which you should check out if you need to brush up on either of those areas. Until next time!